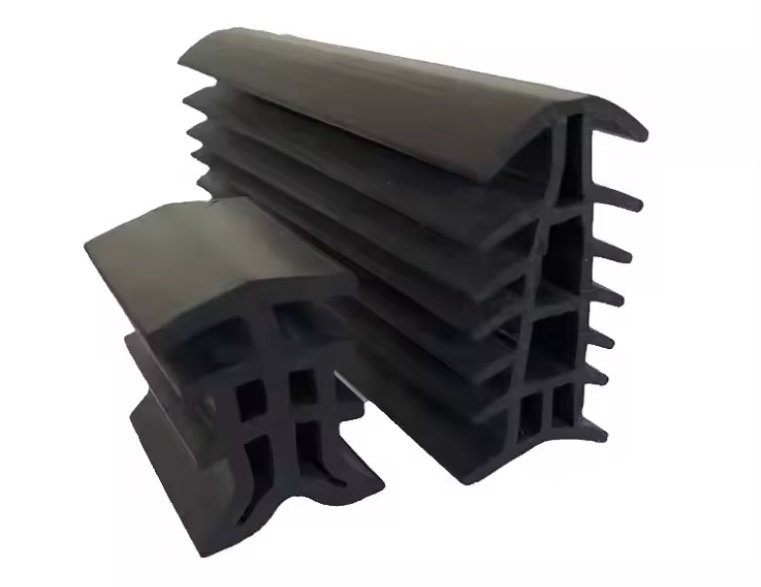
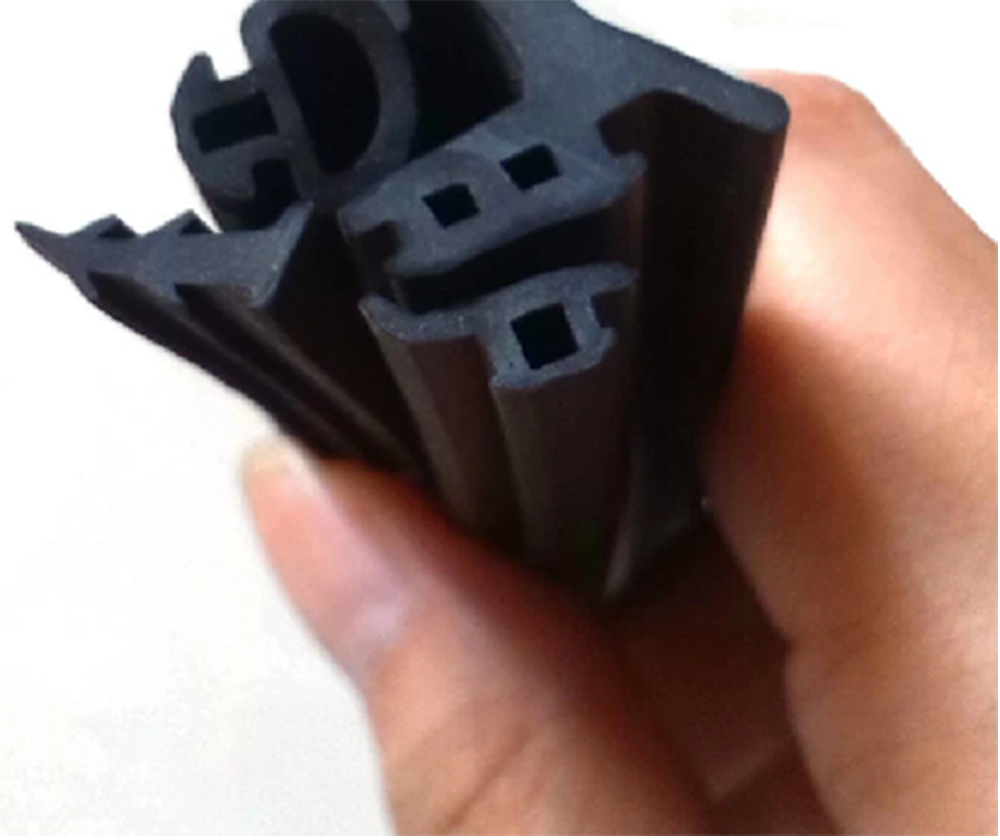
The installation of photovoltaic panels is a crucial step in setting up a solar energy system. One important aspect of this process is the proper installation of the photovoltaic panel sealing strip. This sealing strip plays a vital role in ensuring the longevity and efficiency of the solar panels by providing a barrier against environmental elements such as moisture, dust, and debris. In this article, we will discuss the importance of the photovoltaic panel sealing strip and the recommended installation method to ensure a secure and effective seal.
The photovoltaic panel sealing strip is designed to create a watertight and airtight seal between the solar panels and the mounting structure. It is typically made of durable materials such as silicone or rubber, which are resistant to weathering and UV exposure. The sealing strip is essential for protecting the sensitive electrical components within the solar panels from moisture and other environmental factors that could potentially compromise their performance.

When it comes to the installation of the photovoltaic panel sealing strip, following the correct method is crucial to ensure its effectiveness. Here are the recommended steps for installing the sealing strip:
1. Clean the Surface: Before installing the sealing strip, it is important to thoroughly clean the surface where the strip will be applied. Any dirt, dust, or debris on the surface can prevent the sealing strip from adhering properly, compromising its effectiveness. Use a mild detergent and water to clean the surface, and ensure that it is completely dry before proceeding with the installation.
2.Measure and Cut: Measure the length of the sealing strip needed for each side of the photovoltaic panel. It is important to ensure that the sealing strip fits precisely along the edges of the panel to create a uniform seal. Use a sharp utility knife or scissors to cut the sealing strip to the required length.
3.Apply Adhesive: Most photovoltaic panel sealing strips come with an adhesive backing for easy installation. Carefully peel off the protective backing to expose the adhesive side of the sealing strip. Starting from one end, carefully apply the sealing strip along the edge of the solar panel, pressing firmly to ensure proper adhesion.
4.Seal the Corners: Pay special attention to the corners of the solar panel, as these areas are particularly vulnerable to moisture ingress. Use a miter box to cut the sealing strip at a 45-degree angle to create a seamless corner seal. Ensure that the corners are securely sealed to prevent any potential water penetration.
5.Inspect and Test: Once the sealing strip is installed, thoroughly inspect the edges to ensure that the seal is uniform and free from any gaps or air pockets. Additionally, perform a water test by spraying a gentle stream of water along the edges of the panel to check for any signs of leakage. This will help ensure that the sealing strip is effectively protecting the solar panels from moisture intrusion.

In conclusion, the proper installation of the photovoltaic panel sealing strip is essential for maintaining the integrity and performance of solar panels. By following the recommended installation method and paying attention to detail, it is possible to create a reliable and durable seal that protects the solar panels from environmental elements. This, in turn, contributes to the long-term efficiency and reliability of the entire solar energy system.
Post time: Mar-28-2024
